Step1
1. Once logged in, you can access the “Recruitment” menu from the left panel of the EMS Portal. Please see the red highlighted section for your reference.

Please follow the below steps to use the Recruitment Module in the EMS portal. Note: if you are not able to see the “Recruitment” menu, please login again. If you are still not able to see the menu, please contact “Arijit Chakraborty (arijit@redappletech.com)”.
1. Once logged in, you can access the “Recruitment” menu from the left panel of the EMS Portal. Please see the red highlighted section for your reference.
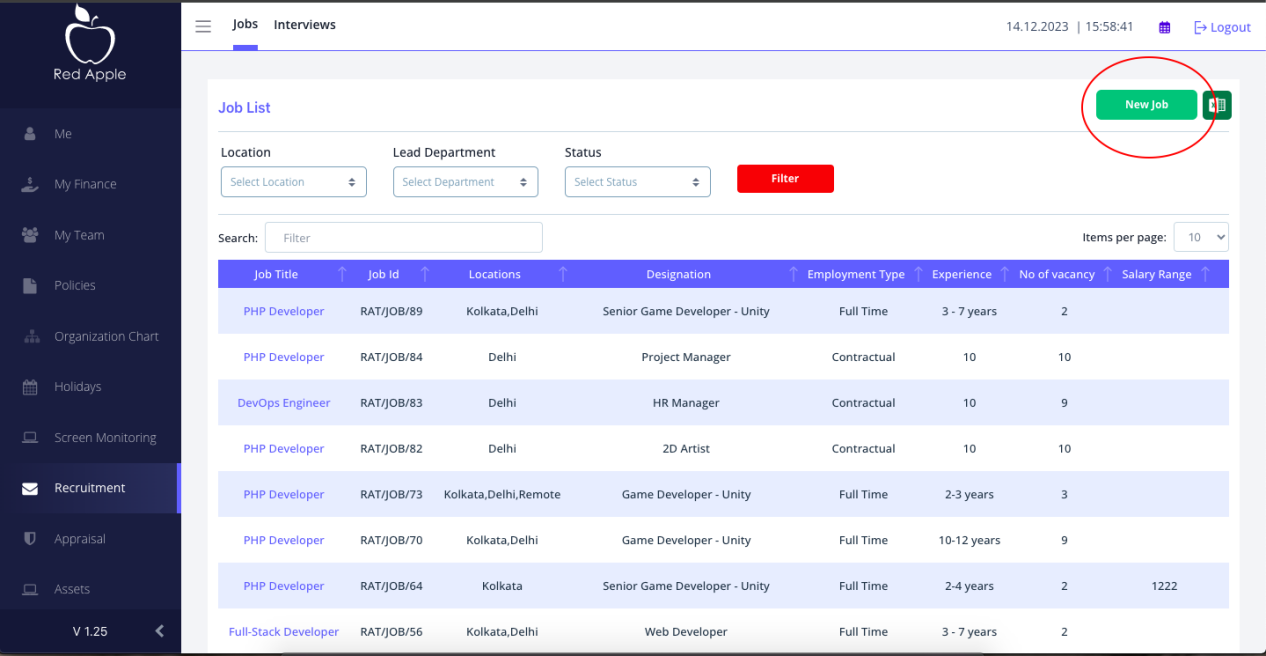
1. Clicking on “Recruitment” menu will show the list of leads already added alng with and option “Add Lead” to add a new lead. Please see the red highlighted section for your reference.
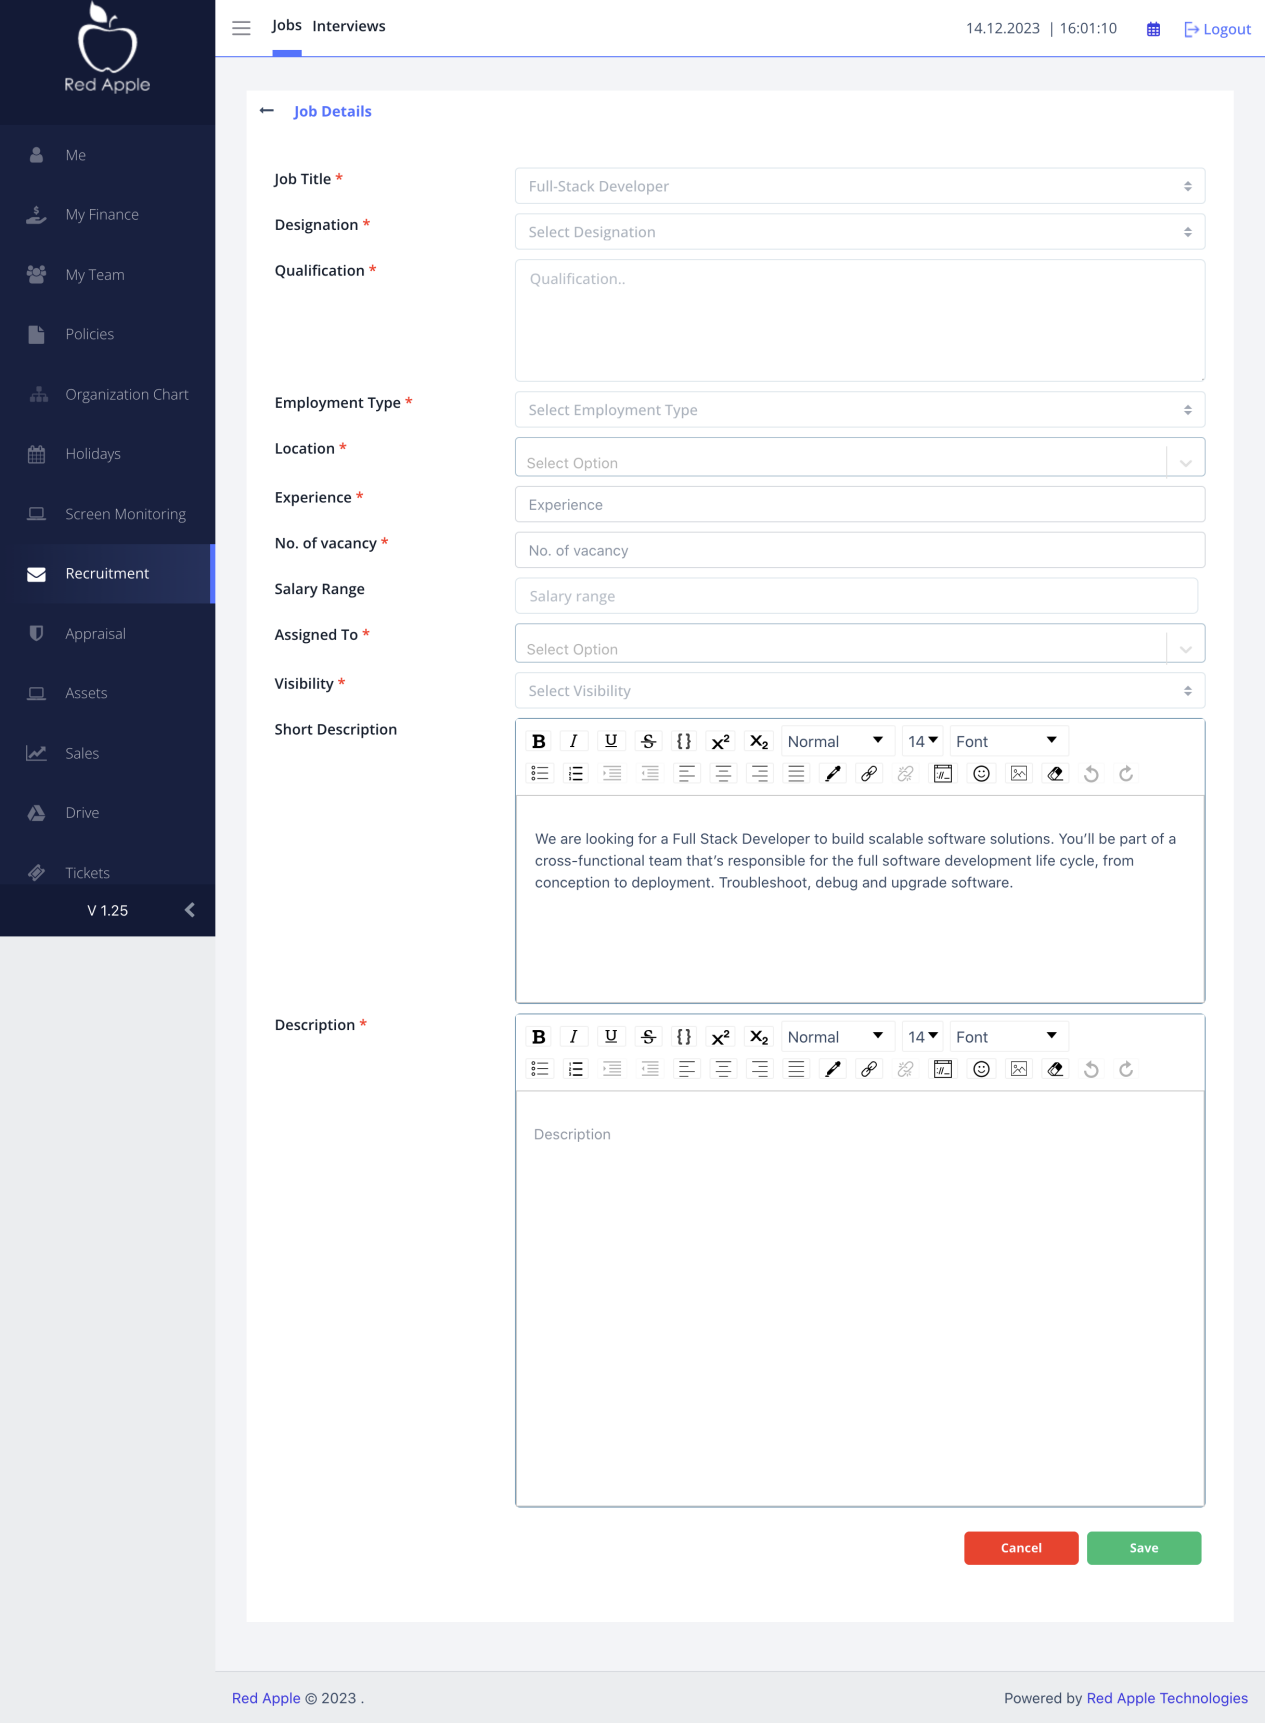
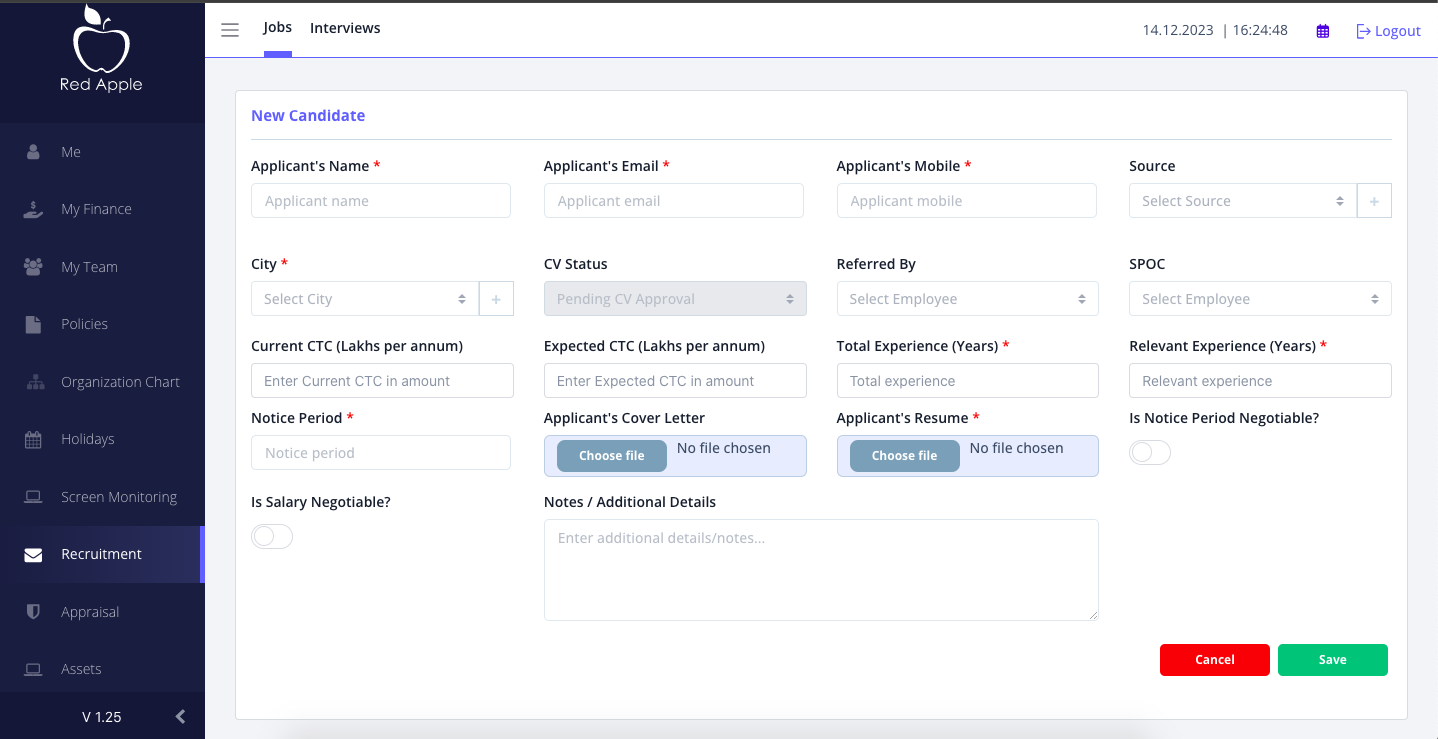
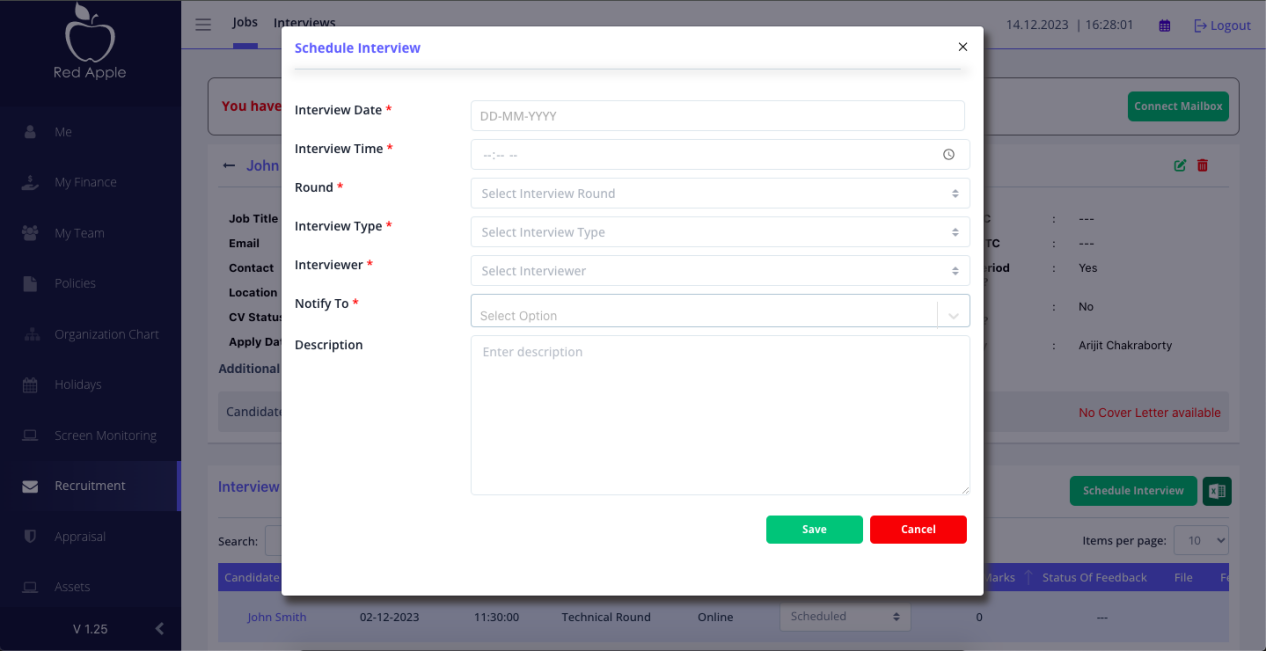
3. Clicking on “Add Lead” will open a form as shown below where you can fill up the lead details and save it by clicking the “Submit” button. You can close this form by clicking the “Cancel” button or the “X” button. In this form following fields are mandatory and others are optional.
4. Clicking on “Add Lead” will open a form as shown below where you can fill up the lead details and save it by clicking the “Submit” button. You can close this form by clicking the “Cancel” button or the “X” button. In this form following fields are mandatory and others are optional.
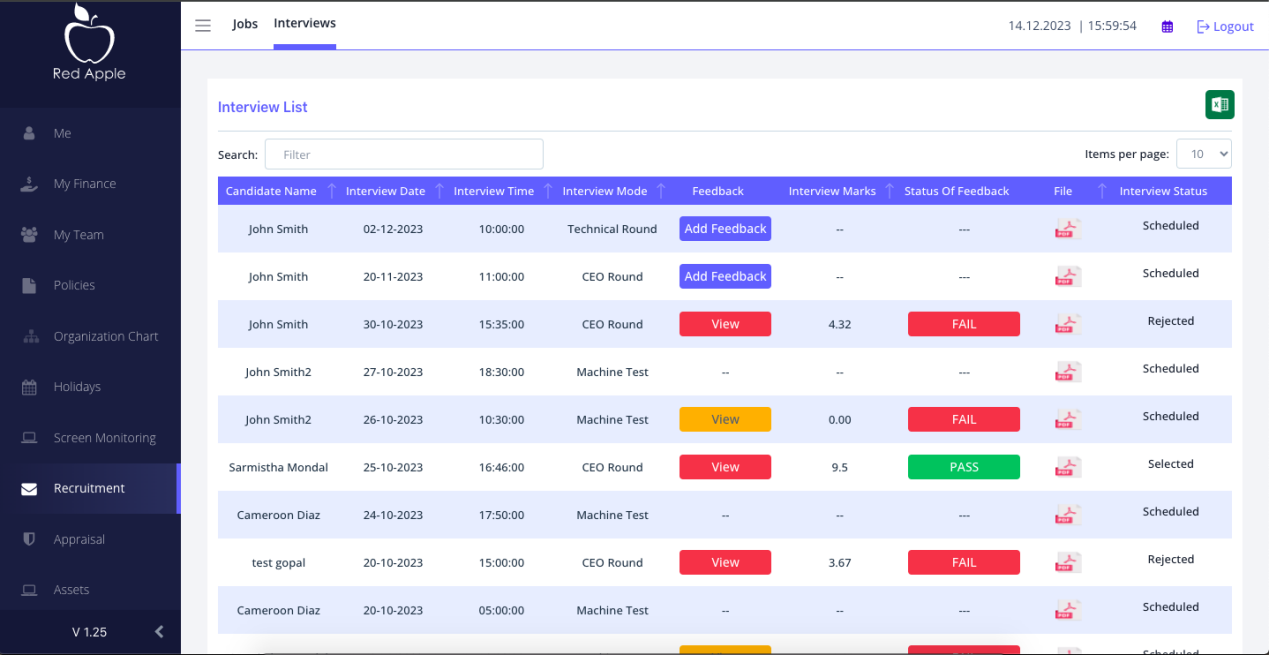
5. After adding the lead details, lead will be appeared on te listing page. Clicking on any lead name will show the details of the lead. Please refer to the red highlighted section in the below screenshot.
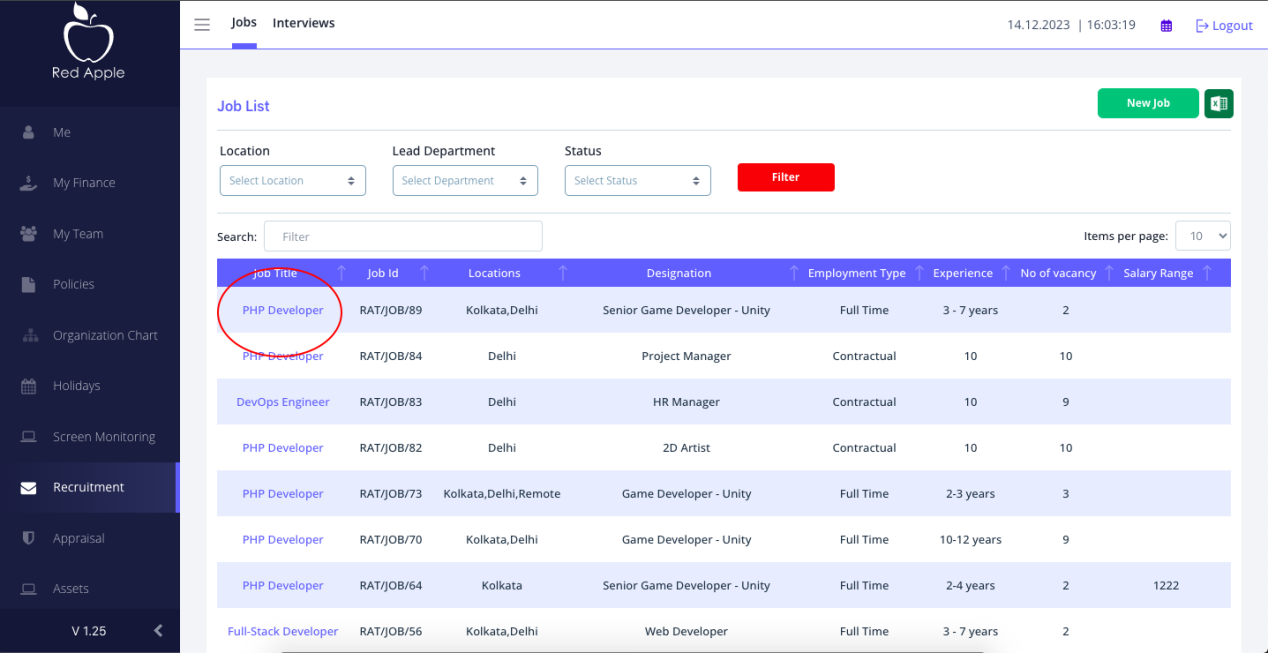
6. After adding the lead details, lead will be appeared on te listing page. Clicking on any lead name will show the details of the lead. Please refer to the red highlighted section in the below screenshot.
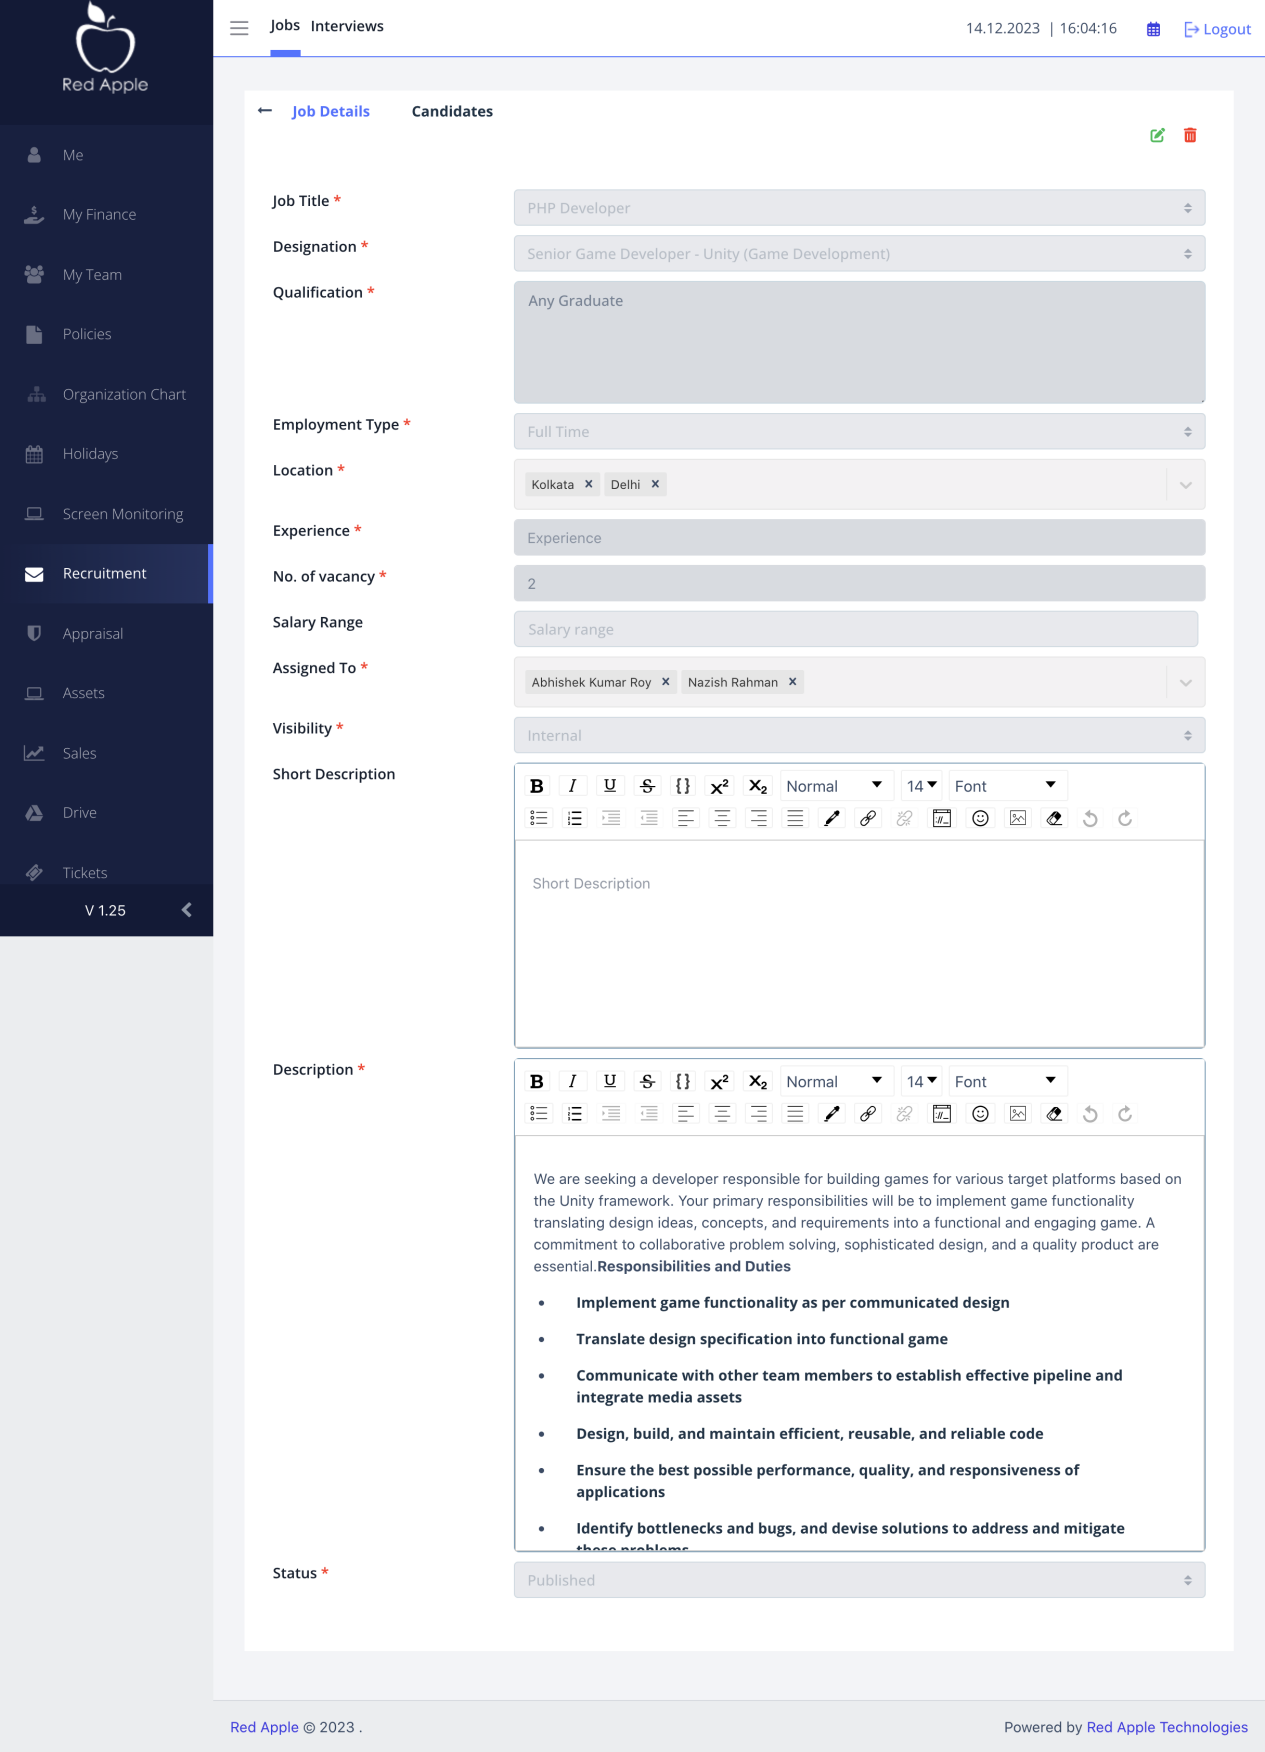
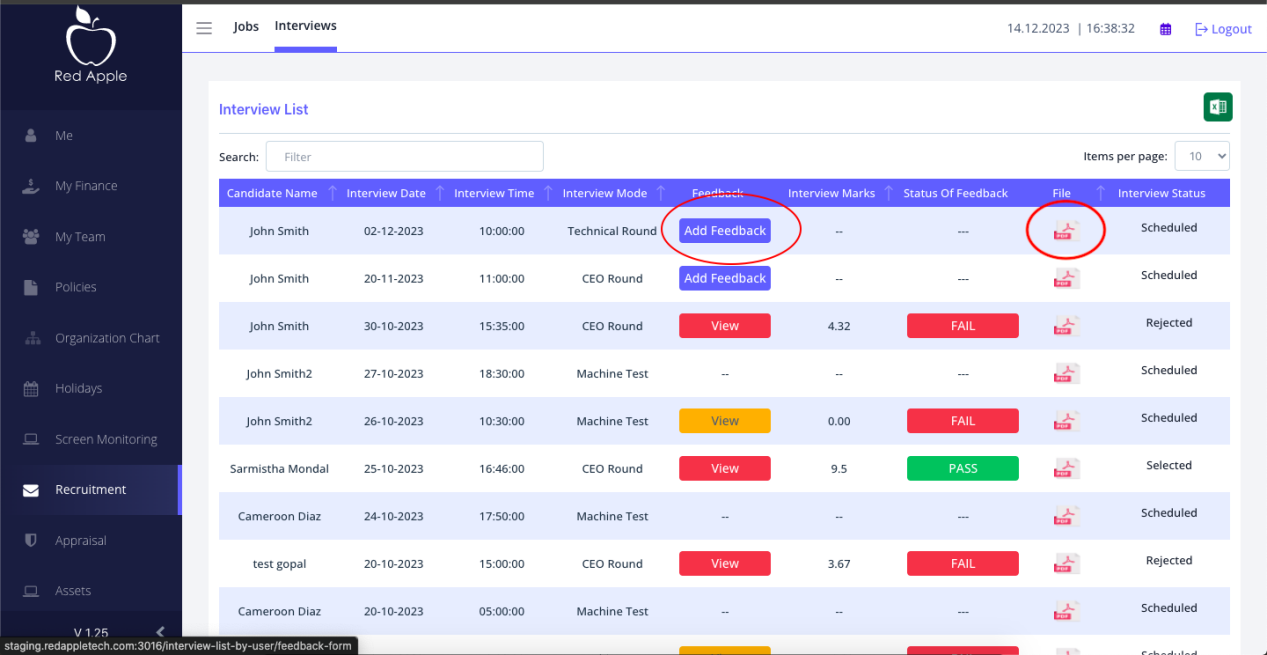
7. After adding the lead details, lead will be appeared on te listing page. Clicking on any lead name will show the details of the lead. Please refer to the red highlighted section in the below screenshot.
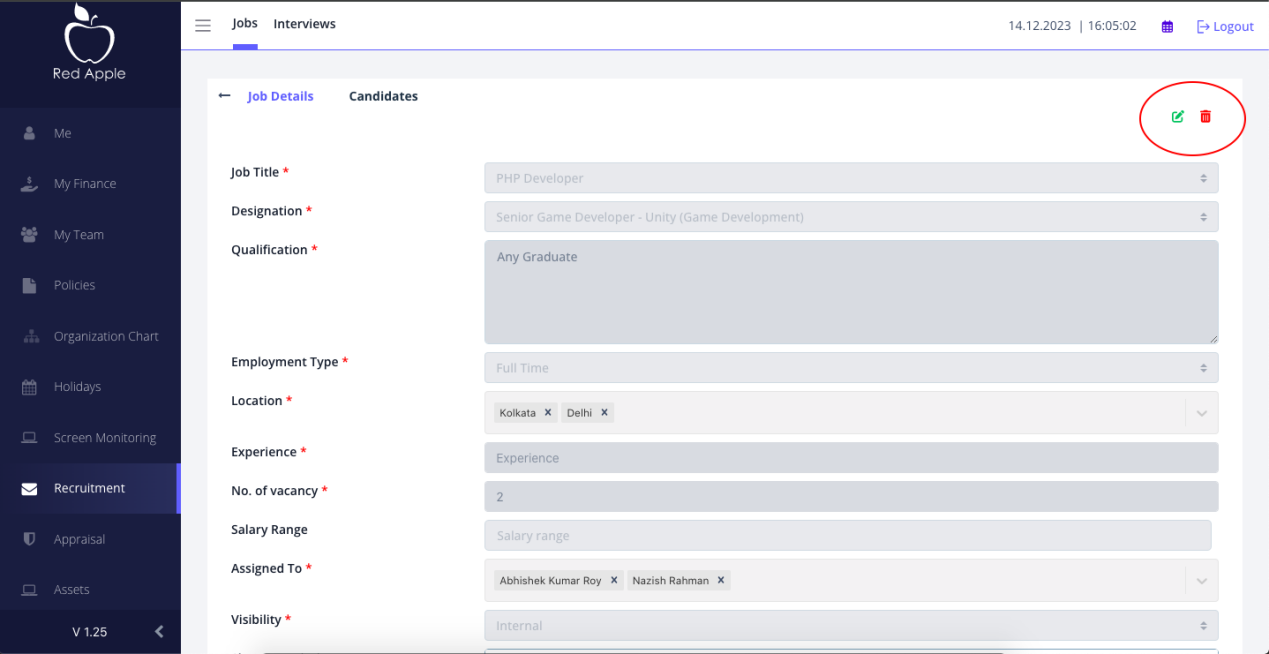
8. After adding the lead details, lead will be appeared on te listing page. Clicking on any lead name will show the details of the lead. Please refer to the red highlighted section in the below screenshot.

9. After adding the lead details, lead will be appeared on te listing page. Clicking on any lead name will show the details of the lead. Please refer to the red highlighted section in the below screenshot.
10. After adding the lead details, lead will be appeared on te listing page. Clicking on any lead name will show the details of the lead. Please refer to the red highlighted section in the below screenshot.

11. After adding the lead details, lead will be appeared on te listing page. Clicking on any lead name will show the details of the lead. Please refer to the red highlighted section in the below screenshot.
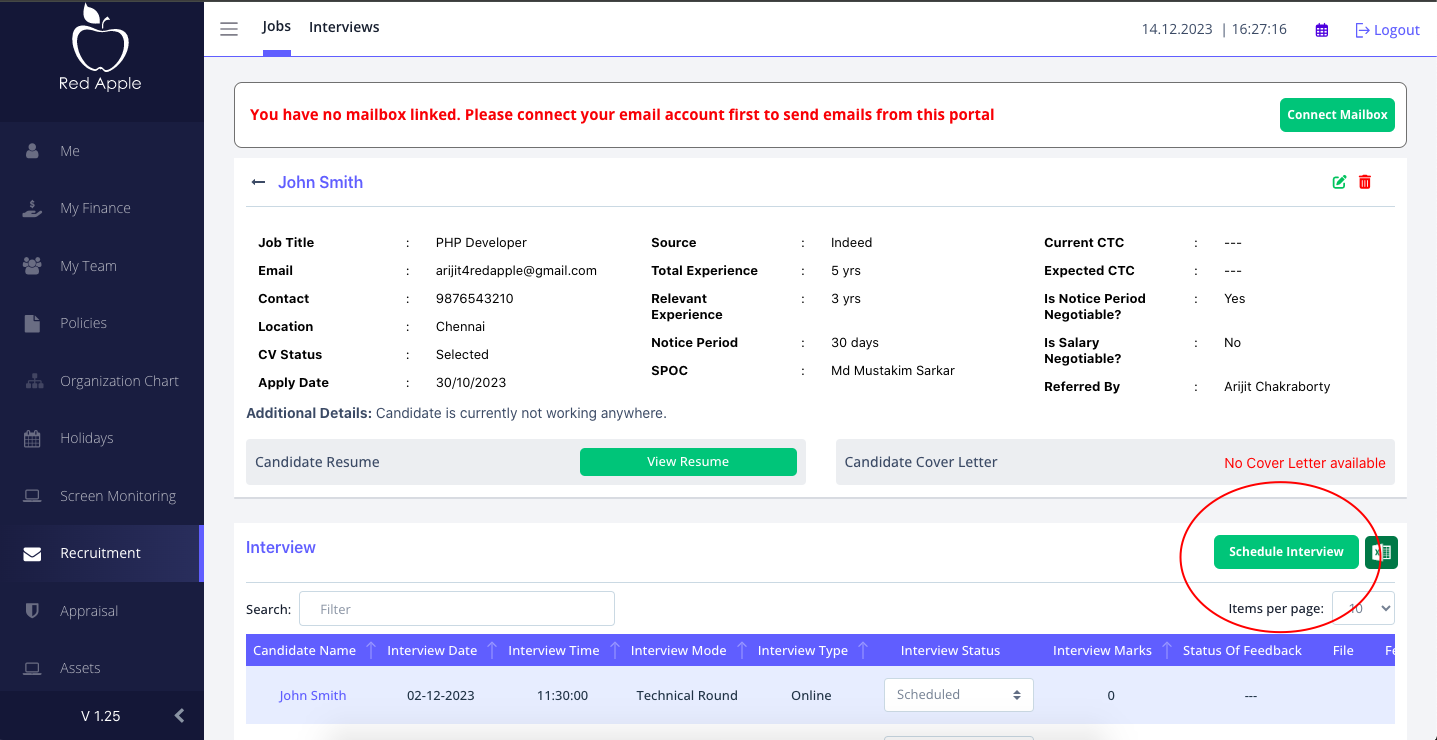
12. After adding the lead details, lead will be appeared on te listing page. Clicking on any lead name will show the details of the lead. Please refer to the red highlighted section in the below screenshot.
13. After adding the lead details, lead will be appeared on te listing page. Clicking on any lead name will show the details of the lead. Please refer to the red highlighted section in the below screenshot.
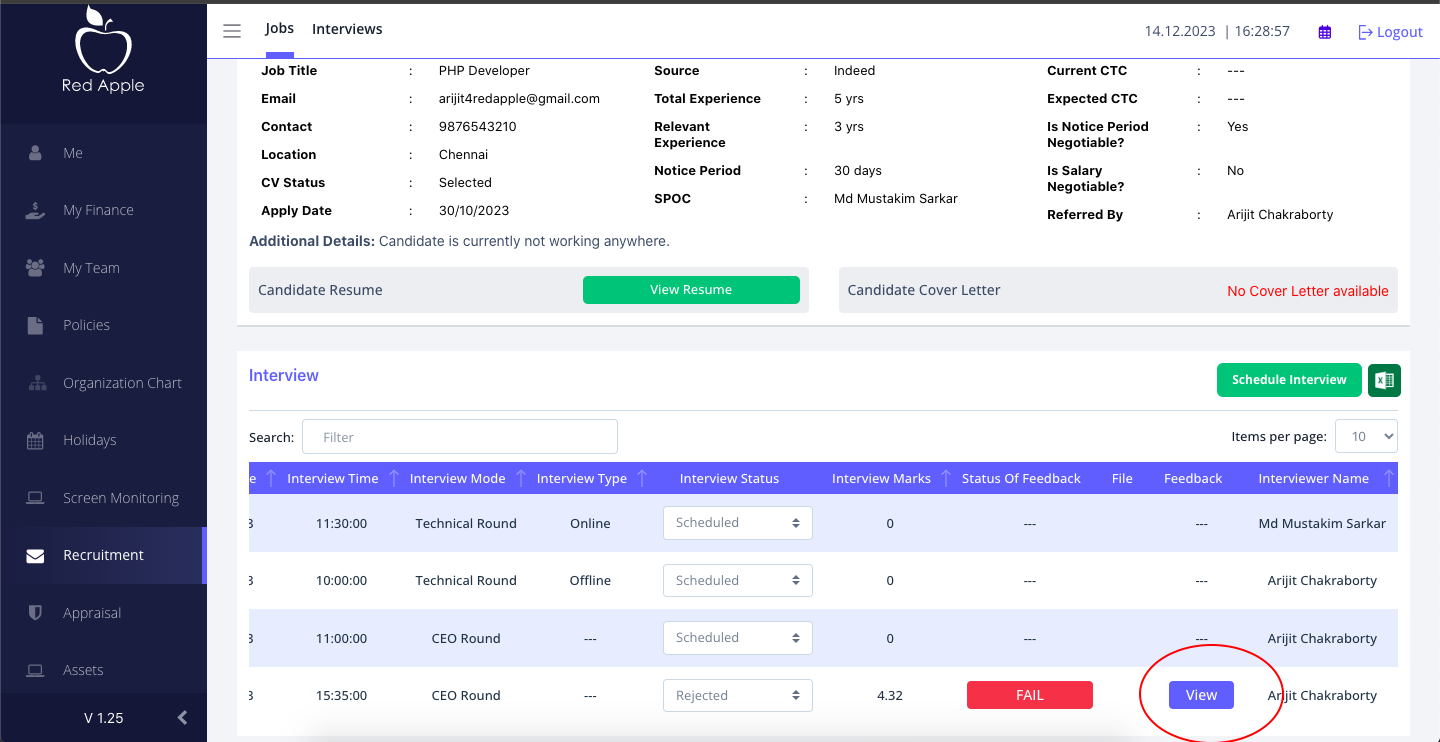
14. After adding the lead details, lead will be appeared on te listing page. Clicking on any lead name will show the details of the lead. Please refer to the red highlighted section in the below screenshot.
15. After adding the lead details, lead will be appeared on te listing page. Clicking on any lead name will show the details of the lead. Please refer to the red highlighted section in the below screenshot.
16. After adding the lead details, lead will be appeared on te listing page. Clicking on any lead name will show the details of the lead. Please refer to the red highlighted section in the below screenshot.